Case Histories
Quality control, automotive

Tasks
Full-image binary classification
Image analysis
Annotation
Computer vision
Industry
Automotive
Rubber
Technologies
REQUEST
The objectives were to eliminate false good, i.e. defective parts not detected by the existing system causing expensive return campaigns for the customer, and to reduce false bad, in full compliance with cycle times and providing useful output for further control and analysis.

STARTING POINT
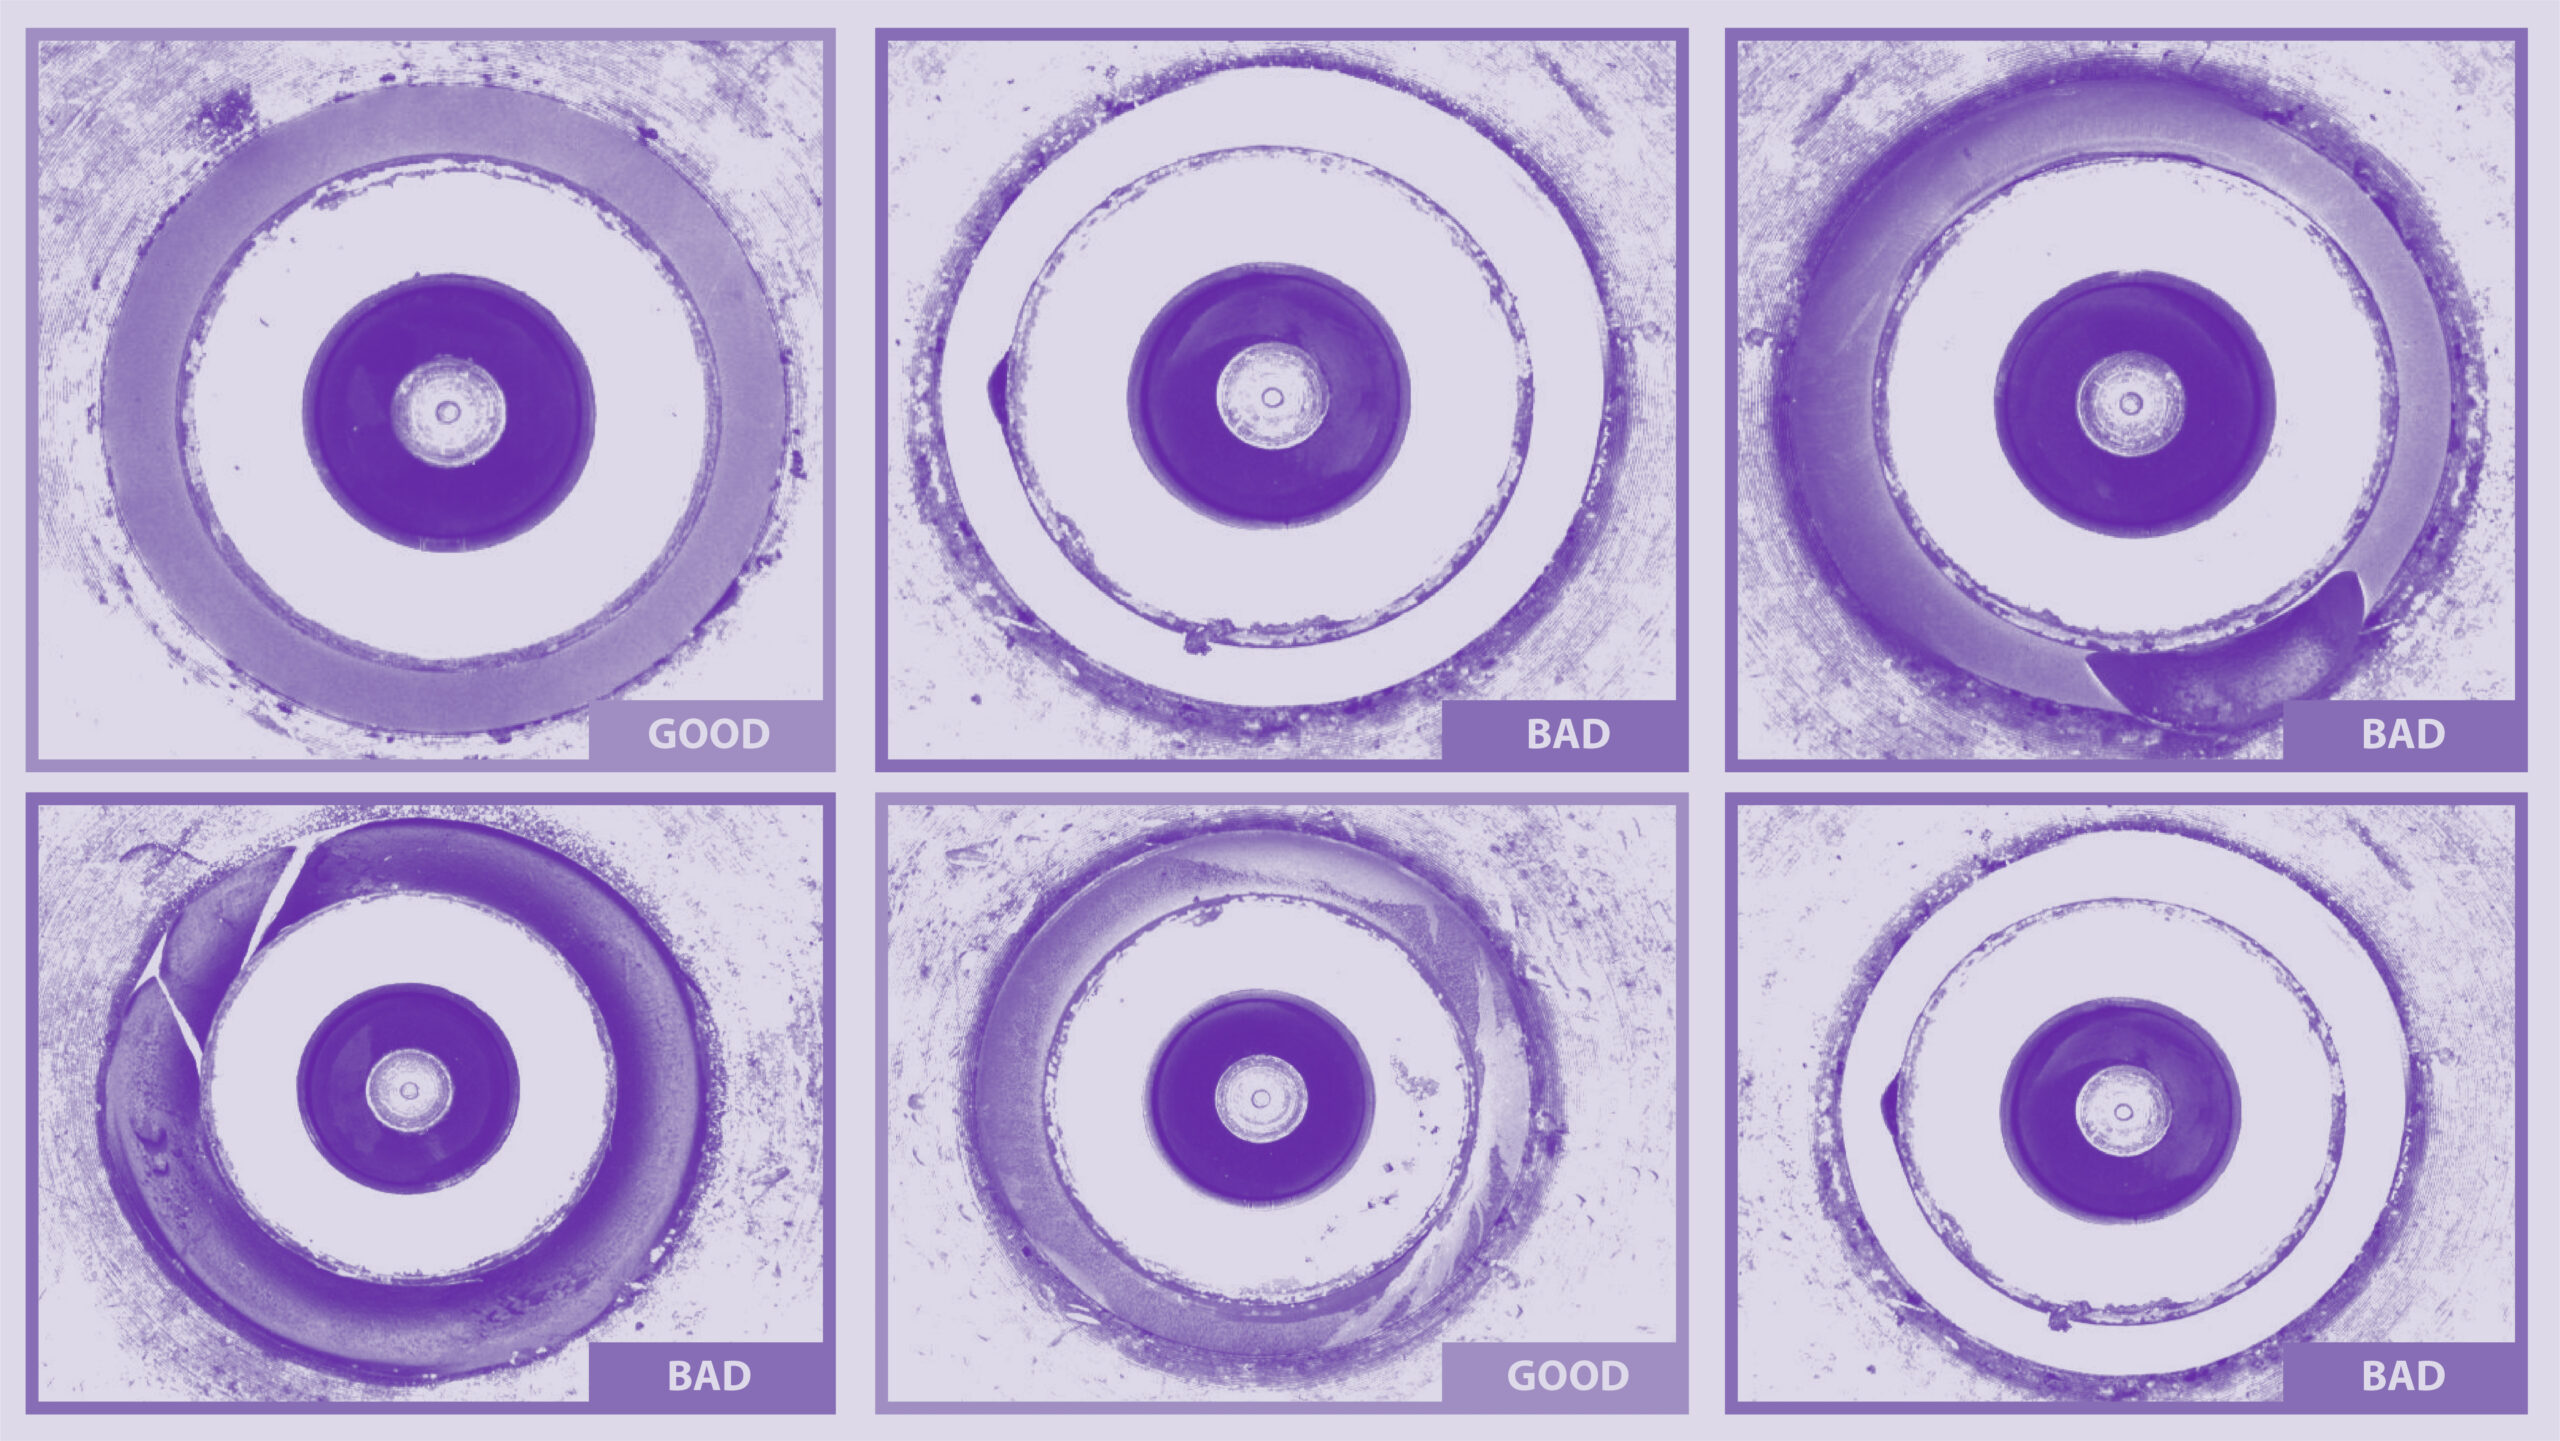
The in-line parts quality control was performed by a traditional computer vision system, designed to check the correct connection between the rubber and metal parts (the defects were mainly detachments with different levels of severity).
While the system in use was very cautious – producing a high amount of parts wrongly classified as rejects (false rejects) – it failed to intercept some particularly severe types of defects.
SOLUTION IMPLEMETED
The existing vision system was fully maintained, with no hardware modifications, and used in parallel with the new artificial intelligence system.
The images are loaded directly into AI-go Studio and used for the models specialization.
The trained and tested models were then deployed in production through AI-go Runtime, ensuring full compliance with the cycle times of the production line.
In order to maintain the performance of the quality control system, the client decided to use our Monitoring and Governance services, performed through invariant.ai, which remotely monitors the application in real-time and periodically submits images to the operator for review.

RESULTS
Increased OEE (Overall Equipment Effectiveness).
Compliance with cycle times.
Maintaining the same quality assurance, but drastically reducing false rejects and removing false good.
Better anomaly detectability– even in sub-optimal visual conditions.
Quality evaluation objectification.
Data-driven approach. To keep track of defects in order to review the process and/or supply chain for continuous improvement.
